ResQRinse is the nasal irrigation squeeze bottle that eliminates head-tilting and awkward neck positions. Using proprietary Nasal Lock™ technology, it delivers a comfortable, gag-free sinus cleanse — no more saline dripping down your throat.

Relief From Fall Sneezes
Now sold on Walmart.com. Free shipping on orders $30+. Try ResQRinse today with your everyday purchases.
Shop at WalmartWhy ResQRinse?
Nasal rinsing helps relieve congestion from colds, allergies, sinusitis, hay fever, and environmental pollutants. ResQRinse makes it comfortable enough to become a daily habit.
Nasal Lock™ Technology
Isolates sinuses from the throat using natural choanal occlusion — like inflating a balloon — so saline stays where it belongs.
Learn more →
Drug-Free Relief
Uses premixed saline packets with distilled water. No medications, no preservatives — just a natural cleanse for your nasal passages.
How to rinse →
For Kids Too
ResQRinse for Kids features a comfort nasal tip right-sized for smaller nostril openings, making rinsing gentle and easy for children.
Shop kids' version →
Breath-Controlled Flow
You control the saline flow with your own breath pressure — high volume, low pressure irrigation that's comfortable and effective.
Watch how-to videos →
Better Compliance
Designed to overcome the gagging and discomfort that cause people to abandon traditional neti pots and nasal rinse systems.
Our story →
Complete Kits Available
From the basic ResQRinse Nasal Rinse System ($19.99) to 90-day complete kits, saline packets, cleaning brushes, and Sinoptim Nasal Mist.
Browse all products →Get Started with ResQRinse
Ready to experience a better nasal rinse? Fill out the form below and we'll help you find the right product — or follow the simple steps to begin rinsing today.
Request More Information
How to Use ResQRinse
Fill the Bottle
Fill the ResQRinse squeeze bottle with distilled or previously boiled water and add one premixed saline packet.
Position the Tip
Place the comfort tip gently against one nostril. No head-tilting or awkward neck angles needed.
Squeeze & Breathe
Squeeze the bottle gently while breathing through your mouth. Nasal Lock™ keeps saline in your nasal passages and out of your throat.
Repeat & Clean
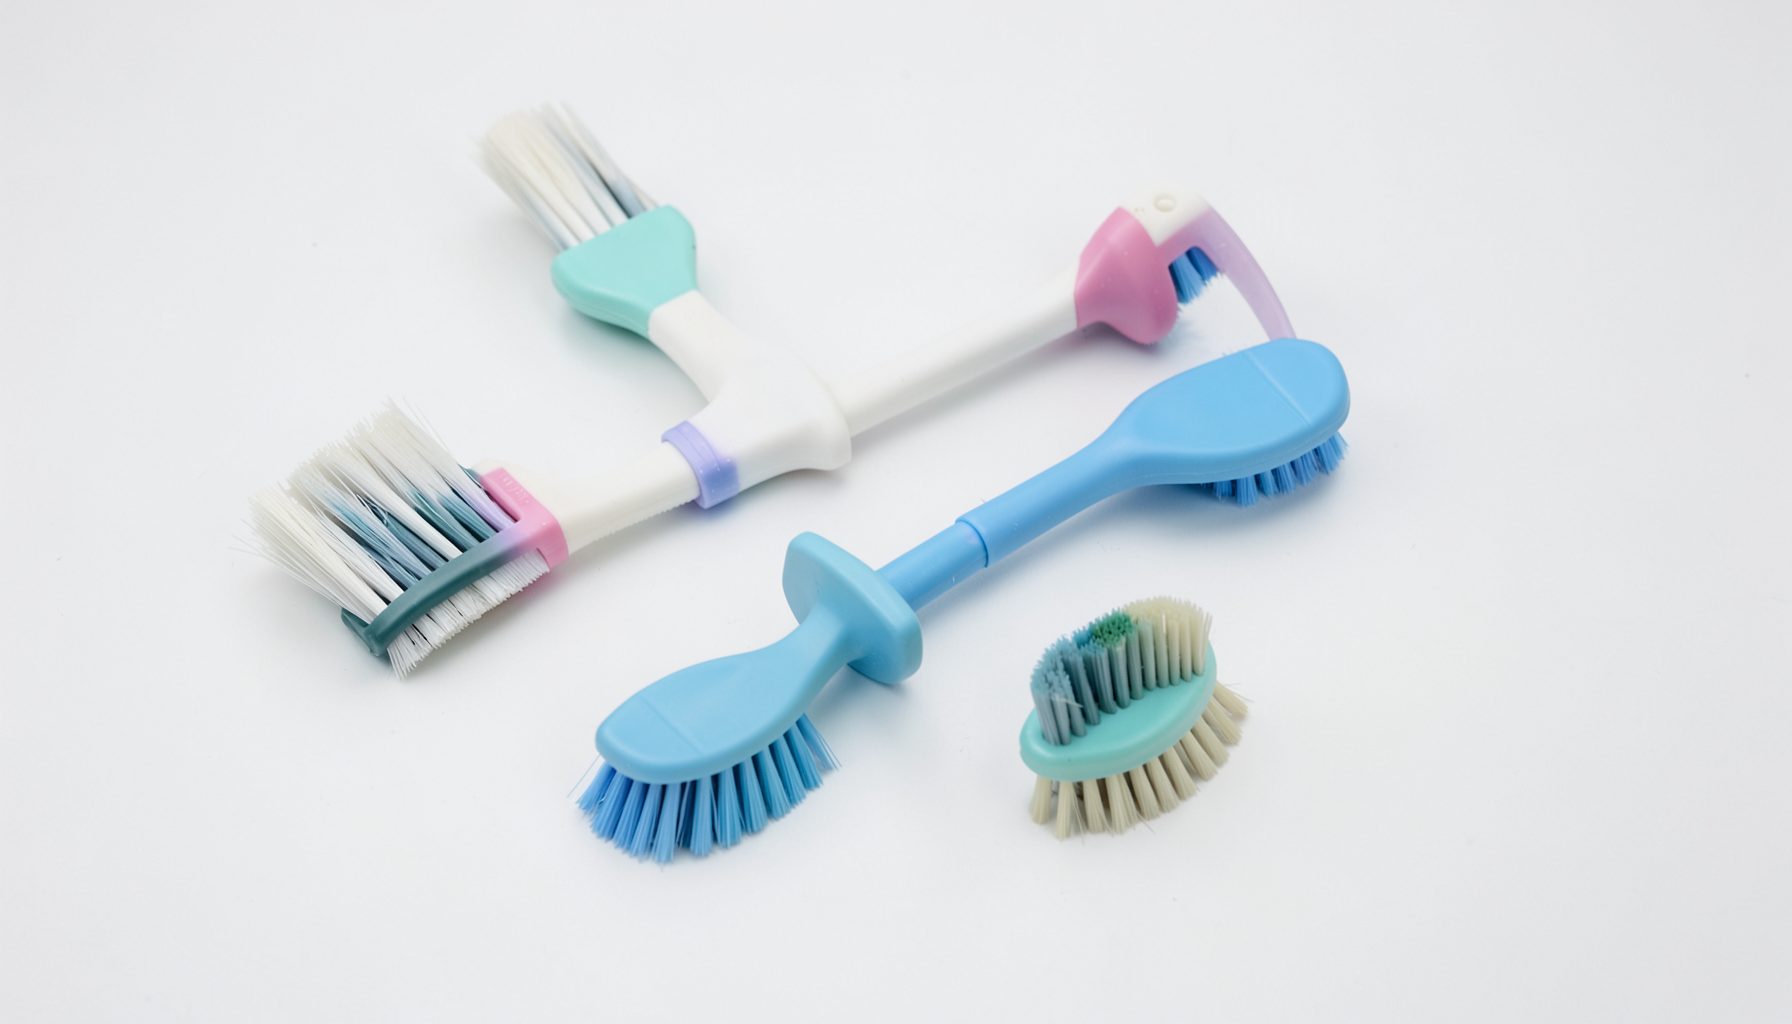
Switch nostrils and repeat. After use, rinse the bottle and let it air dry. Use ResQRinse Premium Cleaning Brushes for thorough cleaning.
The Best Way to Dry Your Squeeze Bottle After Cleaning
A nasal rinse bottle needs more than a quick rinse before it is stored. Moisture left inside the container, cap, or nozzle can create an environment where odors, residue, and unwanted microbial growth develop. Drying is therefore a routine part of keeping a squeeze-bottle irrigation system clean and ready for the next use.
The most reliable approach is simple: take the bottle apart, allow air to reach every interior surface, and store each component only after it is fully dry. A clean dish towel may remove water from the outside, but it usually cannot dry the narrow passage inside the nozzle or the deepest part of the bottle.
This routine applies to many nasal irrigation systems, including family-size bottles and children’s versions. Always follow the care instructions supplied with your particular product, since materials and removable parts can vary.
Why Complete Drying Matters
Water left in a closed squeeze bottle can remain trapped for hours. The warm, damp interior is more likely to develop an unpleasant smell or slimy residue than a bottle that has been opened and thoroughly air-dried. Saline minerals can also collect around the cap, nozzle, and bottle opening as remaining water evaporates.
Drying does not replace cleaning or disinfection. It is the step that follows washing, rinsing, and any care process recommended by the manufacturer. A dry bottle is easier to inspect, less likely to retain residue, and more pleasant to use at the next nasal rinse.
The bottle should also be dry before it is placed in a cabinet, travel pouch, or sealed storage container. Closing it while damp traps humidity inside. If you need to carry the bottle soon after cleaning, leave the cap and nozzle separated until the last possible moment.
Take Apart Every Removable Piece
Begin by separating the squeeze bottle, cap, nozzle, valve, and any other removable component. Small parts often hold more moisture than the bottle itself, especially around threaded connections and narrow openings. Separating them exposes surfaces that would otherwise stay damp.
Rinse away all remaining saline solution with water as directed by the product instructions. If the system includes a cleaning brush, use it gently to loosen residue from the bottle opening or nozzle. Avoid forcing a brush into a passage if it could damage a valve or alter the fit of the parts.
For systems with specialized features, cleaning and reassembly should preserve the intended design. For example, Nasal Lock technology is designed to support a comfortable, controlled rinse, so the cap and nozzle should be handled carefully rather than bent, twisted excessively, or left partially assembled while wet.
Let Air Reach the Interior
Place the clean bottle upside down on a clean, dry surface so water can drain from the main chamber. Keep the opening elevated enough to allow air circulation instead of pressing it flat against a countertop. A clean drying rack works well because it supports the bottle while leaving space around the opening.
Rest the cap and nozzle separately beside the bottle, with their openings exposed. If a component has a narrow channel, position it so water can run out rather than collect in a bend. Rotating pieces once or twice during drying can expose hidden droplets to moving air.
Normal room-temperature air is generally the safest drying method for a reusable squeeze bottle. Keep the parts away from dusty windowsills, splash-prone sinks, and direct sources of heat. A hair dryer, radiator, oven, or heated towel can distort plastic, weaken seals, or blow contaminants into clean components.
Compare Common Drying Methods
Different drying methods vary in convenience, but they do not provide the same level of access to the bottle’s interior. The goal is to remove moisture without adding lint, heat damage, or new contamination.
| Drying method | Main advantage | Potential drawback | Best use |
|---|---|---|---|
| Open-air drying on a rack | Reaches interior surfaces without lint | Takes longer | Routine daily care |
| Upside-down draining | Simple and inexpensive | Water may remain near the cap or threads | First step after rinsing |
| Drying with a clean towel | Quickly removes outside moisture | Cannot dry narrow internal passages; may leave lint | Exterior only |
| Compressed air | Can move water from small openings | May introduce dust or excessive pressure | Only when manufacturer-approved |
| Heated drying | Appears fast | Can warp plastic or damage seals | Generally avoid unless instructed |
| Closed storage while damp | Convenient in the moment | Traps humidity and odors | Avoid |
Air drying on a rack is usually the best everyday option because it is gentle and does not push particles into the bottle. A towel can be useful for wiping the outside, but it should not be stuffed into the bottle or nozzle. Fibers may remain behind and become difficult to remove.
If the bottle must be dried quickly, increase clean airflow by placing the separated parts in a well-ventilated area. Do not use a fan that blows dust, pet hair, or household debris directly onto the components.
Store It Without Trapping Moisture
Once the bottle and its parts look dry, check the interior under good light. Inspect the bottom, threads, cap, nozzle, and any valve area for beads of water, cloudy film, salt crystals, or discoloration. A bottle can appear dry on the outside while still holding droplets inside.
Store the pieces loosely rather than snapping everything together immediately. A ventilated basket or clean rack is preferable to a sealed plastic bag. If a storage pouch is supplied with the product, use it only after the components have dried completely.
A clean, dry location away from the bathroom sink is usually a better storage area than a humid shower space. Keep the bottle protected from household sprays, cosmetics, and other products that could leave residues around the opening. Store children’s nasal rinse components where young children cannot access them without supervision.
If you notice a persistent odor, visible buildup, cracks, cloudiness, or a damaged seal, stop using the bottle until it has been evaluated according to the manufacturer’s care guidance. Replacing a worn component may be safer than trying to restore a damaged surface.
Build Drying Into Your Rinse Routine
A consistent sequence makes proper drying easier to remember. After each use, discard any leftover saline solution rather than saving it for another rinse. Disassemble the system, wash and rinse the parts as directed, and place them immediately in an open drying position.
Use the correct water and saline preparation instructions every time. Safe nasal irrigation depends on appropriate water quality and proper handling, while drying helps maintain the cleanliness of the equipment between uses. If a rinse causes discomfort, review preparation and technique guidance; information about burning or stinging can help identify common causes and appropriate next steps.
A household routine can prevent rushed storage. Keep a dedicated clean drying area, use a timer if needed, and avoid putting the bottle away simply because the outside feels dry. Families may benefit from labeling or separating components so each person’s system is cleaned and dried consistently.
Practical Habits For Cleaner Equipment
Small habits are more effective than occasional intensive cleaning. Use these reminders as part of regular nasal rinse care:
- Separate the bottle, cap, nozzle, and removable valve immediately after use.
- Drain the bottle upside down, then leave every piece open to circulating air.
- Use a clean towel only on exterior surfaces and never push fabric into narrow openings.
- Inspect threads, seals, and nozzle channels for trapped water or saline residue.
- Store the fully dry components in a clean, ventilated place rather than a sealed container.
Replace or clean accessories according to the manufacturer’s instructions, particularly brushes and saline packet storage areas. A drying brush or rack should also remain clean; otherwise, it can transfer dust and residue back onto freshly washed parts.
When several people use nasal irrigation systems, avoid sharing bottles or accessories unless the product is specifically designed and prepared for that purpose. Individual equipment makes cleaning, drying, and replacement schedules easier to manage.
A squeeze bottle that is washed, separated, air-dried, and stored with care is ready for a cleaner, more comfortable routine. Make the drying step part of every rinse, inspect the components regularly, and follow the care instructions for your ResQRinse system before the next use.