ResQRinse is the nasal irrigation squeeze bottle that eliminates head-tilting and awkward neck positions. Using proprietary Nasal Lock™ technology, it delivers a comfortable, gag-free sinus cleanse — no more saline dripping down your throat.

Relief From Fall Sneezes
Now sold on Walmart.com. Free shipping on orders $30+. Try ResQRinse today with your everyday purchases.
Shop at WalmartWhy ResQRinse?
Nasal rinsing helps relieve congestion from colds, allergies, sinusitis, hay fever, and environmental pollutants. ResQRinse makes it comfortable enough to become a daily habit.
Nasal Lock™ Technology
Isolates sinuses from the throat using natural choanal occlusion — like inflating a balloon — so saline stays where it belongs.
Learn more →
Drug-Free Relief
Uses premixed saline packets with distilled water. No medications, no preservatives — just a natural cleanse for your nasal passages.
How to rinse →
For Kids Too
ResQRinse for Kids features a comfort nasal tip right-sized for smaller nostril openings, making rinsing gentle and easy for children.
Shop kids' version →
Breath-Controlled Flow
You control the saline flow with your own breath pressure — high volume, low pressure irrigation that's comfortable and effective.
Watch how-to videos →
Better Compliance
Designed to overcome the gagging and discomfort that cause people to abandon traditional neti pots and nasal rinse systems.
Our story →
Complete Kits Available
From the basic ResQRinse Nasal Rinse System ($19.99) to 90-day complete kits, saline packets, cleaning brushes, and Sinoptim Nasal Mist.
Browse all products →Get Started with ResQRinse
Ready to experience a better nasal rinse? Fill out the form below and we'll help you find the right product — or follow the simple steps to begin rinsing today.
Request More Information
How to Use ResQRinse
Fill the Bottle
Fill the ResQRinse squeeze bottle with distilled or previously boiled water and add one premixed saline packet.
Position the Tip
Place the comfort tip gently against one nostril. No head-tilting or awkward neck angles needed.
Squeeze & Breathe
Squeeze the bottle gently while breathing through your mouth. Nasal Lock™ keeps saline in your nasal passages and out of your throat.
Repeat & Clean
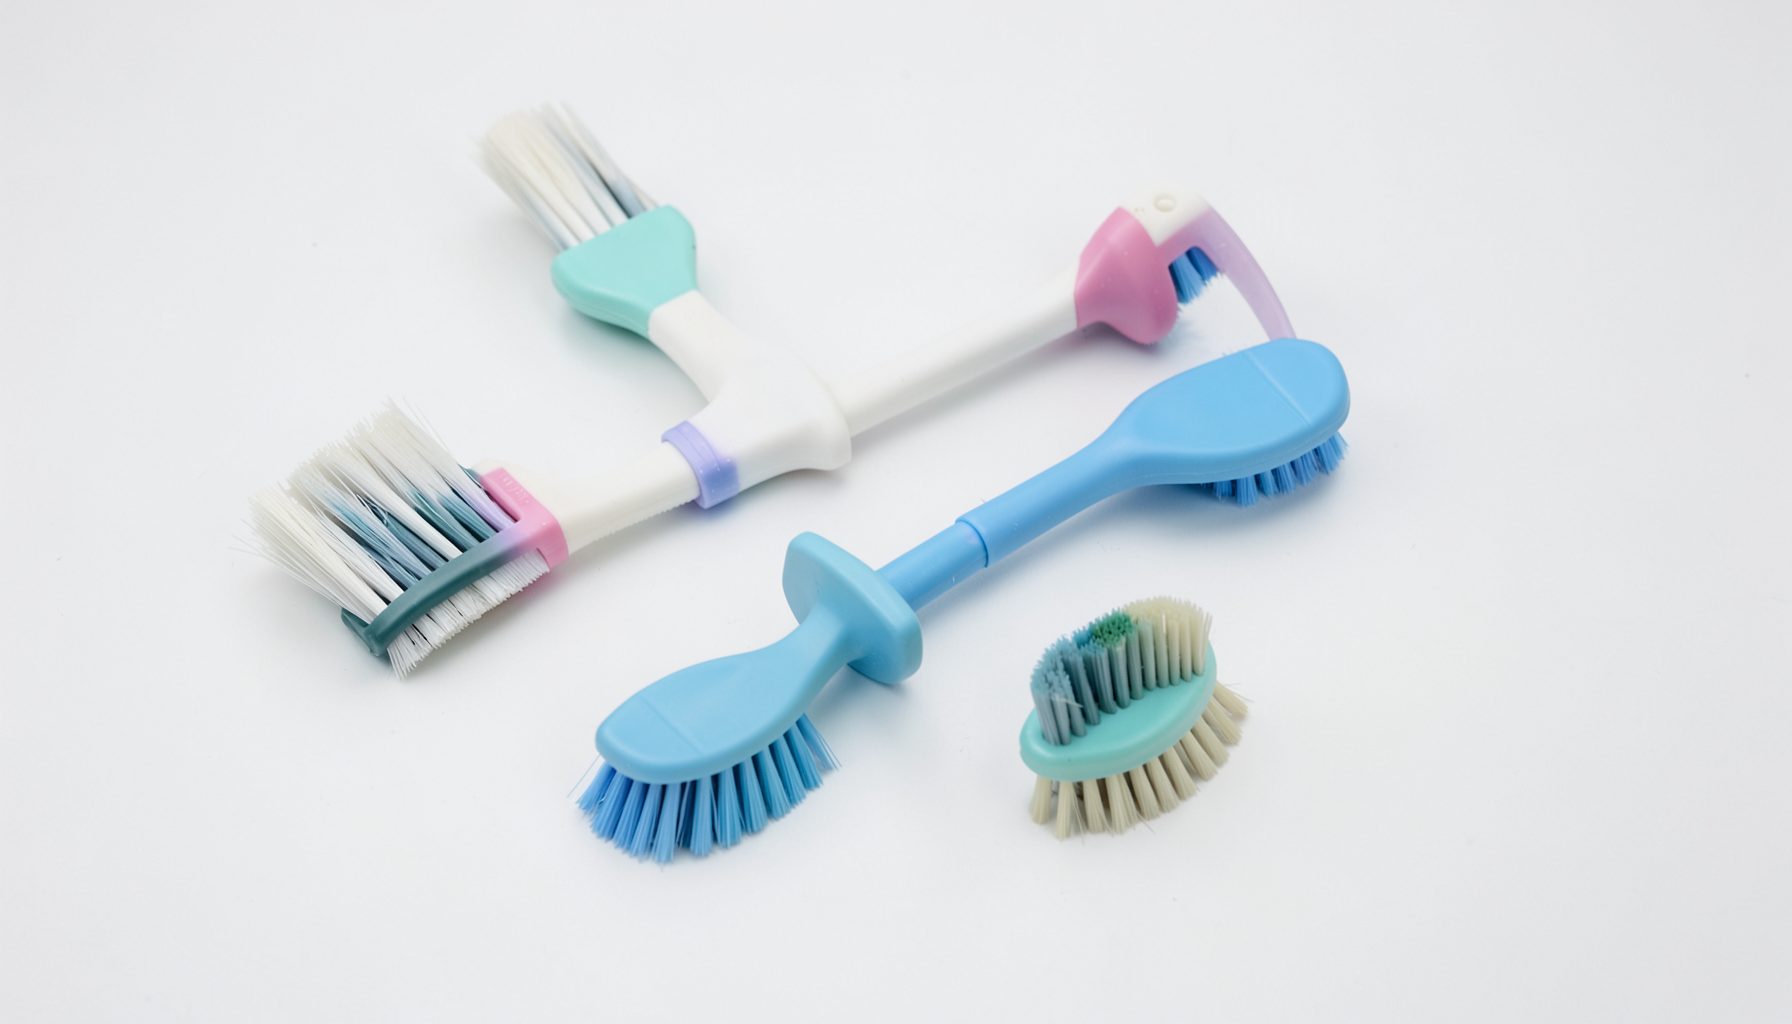
Switch nostrils and repeat. After use, rinse the bottle and let it air dry. Use ResQRinse Premium Cleaning Brushes for thorough cleaning.
How to Replace a Squeeze Bottle Cap for a Better Seal
A nasal rinse bottle works best when the cap creates a secure, even seal against the nostril. If the cap is loose, cracked, warped, or difficult to position, saline may leak around the opening instead of flowing comfortably through the nasal passage. Replacing the cap can restore control and make each rinse feel cleaner and more dependable.
A good fit also helps the bottle maintain steady pressure. That matters when you are using a squeeze-bottle irrigation system for congestion, seasonal allergies, sinus pressure, or dryness. The replacement process is simple, but the cap must match the bottle and should be installed without forcing or twisting the parts out of alignment.
Before beginning, check the product instructions for your specific ResQRinse system. Different caps may look similar while using different connection points, nozzle shapes, or sealing surfaces. Using a compatible replacement is the safest way to protect the bottle’s performance.
Recognizing a cap that needs replacement
A worn cap does not always show obvious damage. Look for small splits around the nozzle, flattened sealing edges, cloudy plastic, loose threads, or a cap that rocks when attached to the bottle. A cap that repeatedly allows saline to escape from the sides may also have lost its ability to form a comfortable seal.
The bottle itself should be inspected at the same time. A damaged neck, chipped rim, stretched opening, or deep scratch can prevent even a new cap from fitting correctly. If the bottle is distorted from heat or heavy use, replacing the complete bottle may be more practical than changing only the top.
Performance can also change when dried saline collects around the connection. Mineral residue may make the cap feel tight in one area and loose in another. Clean the components first, allow them to dry, and then determine whether the problem remains. Never use a cracked or visibly compromised part for nasal irrigation.
Choosing the correct replacement part
A replacement nasal rinse cap should be designed for the same bottle model and connection style. Compare the replacement with the original by checking the diameter, thread pattern, nozzle length, soft sealing surface, and any internal valve or Nasal Lock feature. A cap that appears to fit but does not sit flush may leak or make the rinse stream unpredictable.
Use the manufacturer’s product information when ordering a replacement. ResQRinse describes its product range and design approach on the company information page, which can help you identify the appropriate system before purchasing parts. Avoid mixing components from unrelated irrigation kits unless the manufacturer specifically states that they are compatible.
The saline solution matters as well. Premeasured saline packets are formulated for nasal rinsing and help provide a consistent concentration when mixed as directed. For background on why packeted saline can be preferable to improvised proportions, read how saline packets compare with homemade salt mixtures.
Preparing the bottle and cap
Wash your hands before handling the bottle and replacement cap. Rinse the bottle and the old cap according to the product instructions, using safe water for the system. Depending on the guidance supplied with the product, this may mean distilled, sterile, or previously boiled and cooled water. Do not use untreated tap water for nasal irrigation.
Remove any remaining saline residue from the bottle neck. A soft cleaning brush can help reach grooves without scratching the plastic. Do not use a sharp object to scrape the seal, and do not apply household oils, petroleum jelly, or unapproved lubricants. These substances can affect the material and may contaminate the solution.
Place the clean components on a fresh towel and check that they are fully dry if the instructions call for dry assembly. Moisture is not automatically a problem, but visible droplets, residue, or cleaning solution trapped inside the cap should be removed before the next use. Keep the replacement part covered until you are ready to attach it.
| Checkpoint | What to inspect | Why it matters |
|---|---|---|
| Bottle neck | Cracks, chips, distortion, or residue | The cap cannot seal against a damaged rim |
| Cap threads or connector | Cross-threading, looseness, or wear | Misalignment can cause leaks |
| Nozzle and seal | Splits, flattening, or rough edges | The seal should sit comfortably and evenly |
| Internal opening | Blockage or dried saline | A restricted passage can change flow |
| Compatibility | Matching bottle model and design | Similar-looking parts may not fit safely |
Attaching the new cap correctly
If the old cap is still attached, loosen it gently without squeezing the bottle. Turn it in the direction shown in the product instructions. Once removed, compare the old and new parts, then discard the damaged cap if it is no longer needed. Do not continue using a component that has developed a crack simply because it can still be tightened.
Position the new cap straight above the bottle opening. If it uses threads, turn it slowly in the correct direction until the threads catch naturally. If it uses a push-fit connector, press evenly rather than rocking it from side to side. For systems with a soft nasal seal or Nasal Lock technology, make sure the sealing surface is fully seated and is not folded inward.
Tighten the cap only until it is secure. Excessive force can deform the seal, strip the threads, or make future cleaning difficult. A properly fitted cap should feel stable without requiring unusual pressure. The nozzle should remain centered, and there should be no visible gap between the cap and the bottle neck.
Testing the seal before a nasal rinse
A quick water-only check can identify a poor fit before saline is prepared. Fill the bottle with the type of safe water recommended for the system, attach the cap, and hold the bottle upright over a sink. Apply gentle pressure without placing the nozzle in your nose. Watch for drips around the cap, connector, or sealing edge.
If the cap leaks, release the pressure and remove it. Check for crossed threads, residue, a displaced gasket, or an incompatible part. Clean and reseat the cap once. If leakage continues, stop using that combination and replace the suspect component rather than trying to tighten it harder.
The water test should be gentle because it is intended to assess the seal, not imitate a full rinse. Once the connection remains dry and stable, prepare saline according to the instructions. During use, squeeze gradually and follow the recommended positioning so the system can deliver a controlled flow without unnecessary pressure.
Keeping the replacement cap in good condition
Rinse the cap promptly after each use and clean it as directed. Saline crystals become harder to remove when they dry inside threads, openings, or soft sealing surfaces. A clean, soft brush may be useful for narrow areas, but avoid abrasive pads that can create tiny scratches where residue and microorganisms may collect.
Allow the cap and bottle to air-dry in a clean location before storage. Do not seal damp components together for long periods unless the product instructions specifically recommend that method. Keep the parts away from direct sunlight, high heat, and freezing temperatures, all of which can shorten the life of plastic and flexible seals.
Do not share a nasal rinse cap or bottle with another person. Replace the cap when it becomes cracked, permanently misshapen, difficult to clean, or unable to maintain a leak-free connection. If nasal discomfort, bleeding, worsening pain, fever, or other concerning symptoms occur, stop rinsing and seek advice from a qualified healthcare professional.
A practical replacement checklist
Use this short routine whenever you install a new squeeze-bottle cap:
- Confirm that the replacement matches the exact bottle and irrigation system.
- Wash your hands and clean the bottle neck, cap, nozzle, and sealing surfaces.
- Check both parts for cracks, residue, warped plastic, or blocked openings.
- Attach the cap straight, tightening only until it is secure and comfortable.
- Test the seal over a sink with safe water before preparing saline.
- Clean, air-dry, and store the components after every rinse.
A cap that fits correctly should support a steady, comfortable rinse rather than require force. If the parts cannot be aligned easily or the bottle continues to leak after careful cleaning and reassembly, replace the incompatible or damaged component. Continuing to use a poor seal can waste saline and make the rinse less predictable.
Replacing a squeeze bottle cap is a small maintenance task, but it has a direct effect on comfort, control, and hygiene. With the correct part, careful alignment, and a simple leak check, your nasal irrigation system can be ready for regular use again. Explore compatible ResQRinse supplies through the brand’s authorized shopping channels, and keep a spare cap available before allergy season or a period of recurring congestion.