ResQRinse is the nasal irrigation squeeze bottle that eliminates head-tilting and awkward neck positions. Using proprietary Nasal Lock™ technology, it delivers a comfortable, gag-free sinus cleanse — no more saline dripping down your throat.

Relief From Fall Sneezes
Now sold on Walmart.com. Free shipping on orders $30+. Try ResQRinse today with your everyday purchases.
Shop at WalmartWhy ResQRinse?
Nasal rinsing helps relieve congestion from colds, allergies, sinusitis, hay fever, and environmental pollutants. ResQRinse makes it comfortable enough to become a daily habit.
Nasal Lock™ Technology
Isolates sinuses from the throat using natural choanal occlusion — like inflating a balloon — so saline stays where it belongs.
Learn more →
Drug-Free Relief
Uses premixed saline packets with distilled water. No medications, no preservatives — just a natural cleanse for your nasal passages.
How to rinse →
For Kids Too
ResQRinse for Kids features a comfort nasal tip right-sized for smaller nostril openings, making rinsing gentle and easy for children.
Shop kids' version →
Breath-Controlled Flow
You control the saline flow with your own breath pressure — high volume, low pressure irrigation that's comfortable and effective.
Watch how-to videos →
Better Compliance
Designed to overcome the gagging and discomfort that cause people to abandon traditional neti pots and nasal rinse systems.
Our story →
Complete Kits Available
From the basic ResQRinse Nasal Rinse System ($19.99) to 90-day complete kits, saline packets, cleaning brushes, and Sinoptim Nasal Mist.
Browse all products →Get Started with ResQRinse
Ready to experience a better nasal rinse? Fill out the form below and we'll help you find the right product — or follow the simple steps to begin rinsing today.
Request More Information
How to Use ResQRinse
Fill the Bottle
Fill the ResQRinse squeeze bottle with distilled or previously boiled water and add one premixed saline packet.
Position the Tip
Place the comfort tip gently against one nostril. No head-tilting or awkward neck angles needed.
Squeeze & Breathe
Squeeze the bottle gently while breathing through your mouth. Nasal Lock™ keeps saline in your nasal passages and out of your throat.
Repeat & Clean
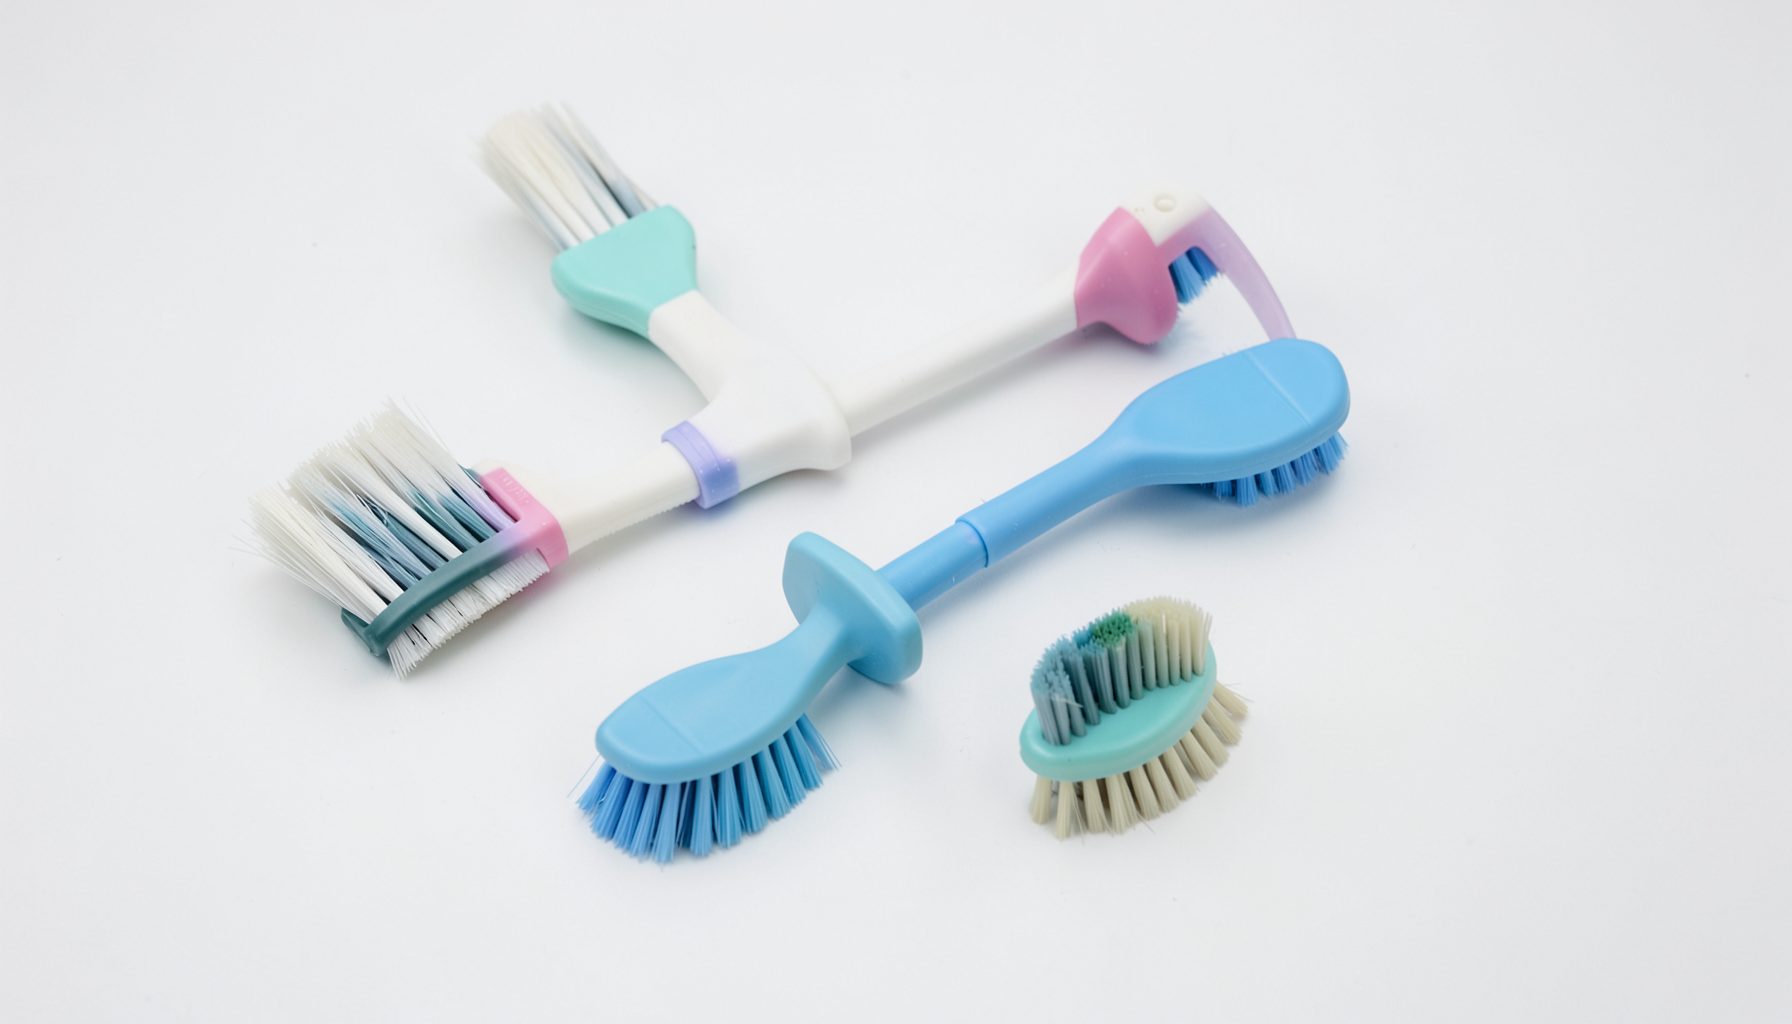
Switch nostrils and repeat. After use, rinse the bottle and let it air dry. Use ResQRinse Premium Cleaning Brushes for thorough cleaning.
How to clean a nasal rinse bottle without a dishwasher
A nasal rinse bottle needs regular cleaning because it comes into contact with saline, mucus, and water that may leave residue inside the bottle, cap, nozzle, or valve. Hand-washing is usually sufficient when it is done carefully and consistently.
The safest routine is simple: empty the bottle after use, take it apart, wash every washable component with warm soapy water, rinse thoroughly, and allow the pieces to air-dry completely. Drying is just as important as washing because trapped moisture can encourage microbial growth.
Always follow the care directions supplied with your specific nasal irrigation system. Materials and internal designs vary, particularly between adult and children’s rinse bottles. ResQRinse rinse systems are designed with components that can be separated and cleaned by hand, making it easier to reach areas where saline or moisture may collect.
Start with the right water and timing
Clean the bottle as soon as possible after each nasal rinse. Saline crystals become harder to remove when they dry, and mucus residue can adhere to the nozzle or cap. A quick rinse immediately after use reduces the amount of scrubbing required later.
Use safe water for the nasal rinse itself, such as distilled or sterile water, or tap water that has been boiled and cooled according to public health guidance. Cleaning the bottle does not make unsafe water suitable for nasal use. The water placed in the bottle and the water used to rinse it should both be appropriate for the device’s instructions.
Before washing, empty any leftover solution. Do not store saline in the bottle for the next use unless the manufacturer specifically directs you to do so. Prepared solution can become contaminated over time, especially if the bottle is opened, handled, or stored while damp.
Take apart every removable piece
Separate the bottle, cap, nozzle, nasal adapter, valve, and any other removable parts. Small openings often retain droplets, so cleaning only the outside of the bottle is not enough. If a component does not detach easily, do not force it; check the product instructions first.
Wash your hands before handling the clean parts. Place the pieces on a clean surface or in a clean basin rather than directly in a sink that may contain food residue, hair, or other debris. Keep children’s parts together so that small pieces are not misplaced or accidentally mixed with another device.
Look closely at seams, threads, flexible valves, and the inside of the nozzle. A soft cleaning brush can help loosen salt deposits from narrow passages. Avoid sharp objects such as pins, needles, or toothpicks, which can scratch plastic, enlarge an opening, or damage a one-way valve.
Wash with warm water and mild soap
Fill the bottle with warm water and add a small amount of mild dish soap. Close the bottle, gently squeeze or shake it, and allow the soapy water to pass through the nozzle if the design permits. This helps clean the inner walls and fluid pathway.
Use a soft bottle brush for the main chamber and a narrow brush for the nozzle or cap. Scrub gently rather than aggressively. Abrasive powders, scouring pads, and stiff wire brushes may create tiny scratches where residue can collect and may shorten the life of the plastic.
Rinse each piece under clean running water until there is no visible soap and no slippery feeling. Soap residue left inside the bottle can irritate the nasal passages during the next use. Pay special attention to threaded areas and small channels, where suds may remain after a quick rinse.
Hand-cleaning methods at a glance
Different parts need slightly different handling. A squeeze bottle can usually be washed by filling, shaking, and flushing it, while a nozzle or valve may require a small brush. The following guide provides a practical routine, but the manufacturer’s care instructions take priority.
| Component | Hand-cleaning approach | Important precaution |
|---|---|---|
| Bottle chamber | Wash with warm water, mild soap, and a soft brush | Avoid abrasive tools that can scratch the plastic |
| Cap and threads | Soak briefly, brush grooves, and rinse well | Check for soap or saline crystals in the threads |
| Nozzle or nasal adapter | Flush through with clean water and use a small soft brush | Never push sharp objects through the opening |
| Valve or flexible insert | Rinse gently and handle according to product directions | Do not stretch, twist, or remove it unless designed to detach |
| Saline mixing cup or spoon | Wash and rinse like other food-contact items | Let it dry completely before storing |
| Cleaning brush | Rinse, wash with mild soap, and air-dry separately | Replace it if the bristles become worn or dirty |
Sanitize only when the instructions allow it
Cleaning removes visible residue and many microorganisms. Sanitizing is a separate step that reduces microbial contamination further, but the appropriate method depends on the bottle’s material and design. Some systems can tolerate a manufacturer-approved sanitizing solution; others may be damaged by heat or chemicals.
Do not pour boiling water into a plastic rinse bottle unless the instructions specifically state that it is heat-safe. High temperatures can warp the bottle, loosen seals, or damage a valve. Similarly, avoid bleach, hydrogen peroxide, alcohol, or antibacterial cleaners unless the product directions provide an approved concentration and contact time.
If sanitizing is recommended, measure the solution carefully and rinse the components exactly as directed. Never combine cleaning chemicals. When no sanitizing method is specified, thorough washing followed by complete air-drying is a safer approach than experimenting with household disinfectants.
For a bottle used by someone with a weakened immune system, recurring sinus problems, or a recent nasal procedure, ask a clinician or pharmacist about the appropriate cleaning and replacement schedule. Personal medical advice may be more specific than general product-care guidance.
Dry and store the bottle properly
After rinsing, shake out excess water and place the bottle and its parts on a clean, dry towel or rack. Keep openings facing downward or positioned so air can circulate through them. Leave the pieces separated until every surface, including the inside of the bottle and cap, is fully dry.
Do not dry the bottle with a used kitchen towel. Fabric can transfer bacteria, lint, or cleaning residue into the fluid pathway. A clean paper towel may be used to blot the outside, but air-drying is preferable for internal areas that are difficult to reach.
Store the dry components in a clean, ventilated location away from bathroom spray, dust, and direct contact with dirty surfaces. Avoid sealing a damp bottle in a cabinet, pouch, or travel case. If you must pack it while it is still slightly damp, leave the case open as soon as possible and complete the drying process.
Replace parts when wear appears
Regular washing can extend the life of a nasal rinse system, but no bottle lasts indefinitely. Inspect it for cracks, cloudy or rough plastic, persistent odor, loose connections, leaking seams, or a nozzle that has changed shape. These signs may indicate that the component should be replaced.
Flexible valves and seals deserve particular attention. A stretched or damaged valve may affect the flow or allow fluid to move in an unintended direction. Do not continue using a part that cannot be cleaned fully or that no longer fits securely.
Replace the cleaning brush when the bristles bend, shed, or develop discoloration. A worn brush may spread residue rather than remove it. Follow the product’s replacement guidance for saline packets, nozzles, valves, and complete bottles, since each part may have a different service life.
Build a simple after-use routine
A consistent routine is easier to maintain than occasional intensive scrubbing. These steps help keep a hand-washed nasal irrigation bottle ready for its next use:
- Empty unused saline immediately after the rinse.
- Take apart every removable component.
- Wash with warm water and mild dish soap, using soft brushes where needed.
- Rinse until all soap and visible residue are gone.
- Air-dry every part completely before reassembly and storage.
Avoid sharing a nasal rinse bottle, even within the same household. Each person should have a separate device to reduce the chance of transferring germs. Keep the bottle away from toothbrushes, cosmetics, and other bathroom items that may contaminate the nozzle.
A clean bottle should have no persistent odor, film, discoloration, or salty buildup. If those problems remain after washing, stop using the device until the affected part has been inspected or replaced. Product-care guidance and customer experiences can also help you understand how different users maintain their rinse systems in everyday routines.
A few minutes of hand-washing after each use can protect the bottle, preserve comfortable fluid flow, and support safer nasal irrigation. Make cleaning, complete drying, and regular inspection part of the same routine as preparing fresh saline, so the device is ready whenever congestion, allergies, or sinus pressure call for relief.